In the ever-evolving world of cryptocurrency, Pi Network continues to stand out as a mobile-first blockchain project aimed at making mining accessible to everyone. As of August 2025, with the recent release of the Linux Node software and upcoming protocol upgrades to Version 23, setting up a Pi Network node on Linux has become more straightforward than ever. This allows users to contribute to the network’s security and earn rewards while supporting decentralized Web 3 ecosystems. Whether you’re a tech enthusiast or a crypto miner looking to optimize your setup, installing a Pi node on Linux can enhance your participation in the Pi Network. This guide draws from the latest official instructions, ensuring you stay ahead in the Pi Network node installation process.
Understanding Pi Network Node Requirements
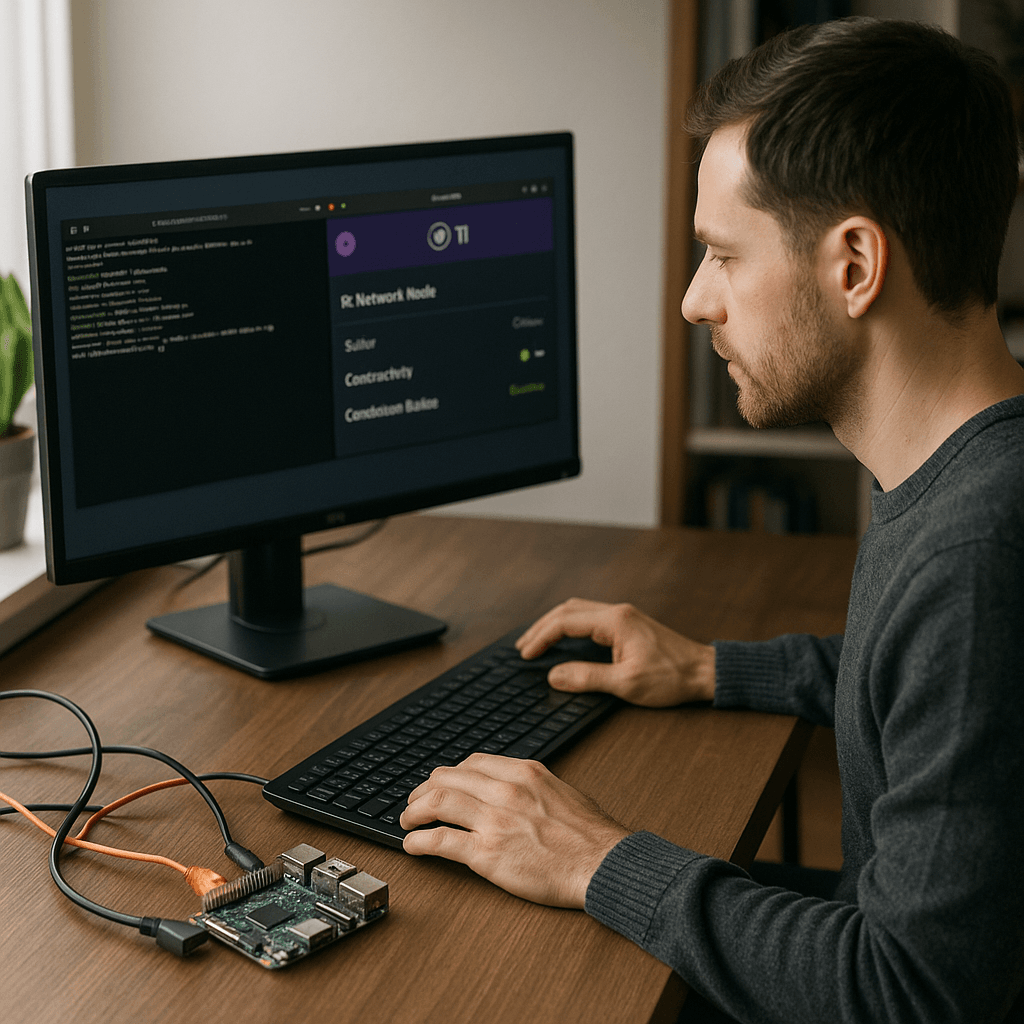
Before diving into the Pi Network node installation on Linux, it’s crucial to check your system’s compatibility. Pi Network nodes require a stable Linux distribution like Ubuntu 22.04 or later, at least 4GB of RAM, 100GB of free storage, and a reliable internet connection. As per the recent Pi Network blog update on August 28, 2025, the new Linux Node release emphasizes Docker integration for easier deployment, reducing setup time and potential errors. Ensure your machine meets these specs to avoid issues during the Pi node setup on Linux, and consider using a VPS for 24/7 operation.
Step-by-Step Installation Instructions
Start by updating your Linux system and installing prerequisites. Run the following commands in your terminal:
bash
sudo apt update && sudo apt upgrade -y
sudo apt install curl git docker.io docker-compose -y
Next, download the Pi Node software from the official repository. Clone the GitHub repo with:
bash
git clone https://github.com/pi-node/instructions.git
cd instructions
Follow the setup script to configure Docker and launch the node:
bash
./setup.sh
docker-compose up -d
Sign up for node access via the Pi Network app if you haven’t already, and link your wallet. The process typically takes 15-30 minutes, and you’ll see the node syncing with the blockchain. For troubleshooting, refer to the GitHub issues, where recent fixes address common Linux-specific errors like permission denials.
Best Practices and Upcoming Upgrades
To optimize your Pi Network node on Linux, enable auto-updates for Docker and monitor performance using tools like htop. The impending Protocol Upgrade to Version 23, announced on August 28, promises improved efficiency and staking features, making node operation even more rewarding. Security is paramount—use firewalls and avoid running as root to protect your setup.
In conclusion, installing a Pi Network node on Linux empowers you to actively engage in this innovative crypto project, potentially earning Pi coins while contributing to a decentralized future. With user-friendly updates and growing community support, now is an ideal time to get started. Stay tuned to official channels for the latest Pi node installation tips and enhancements.