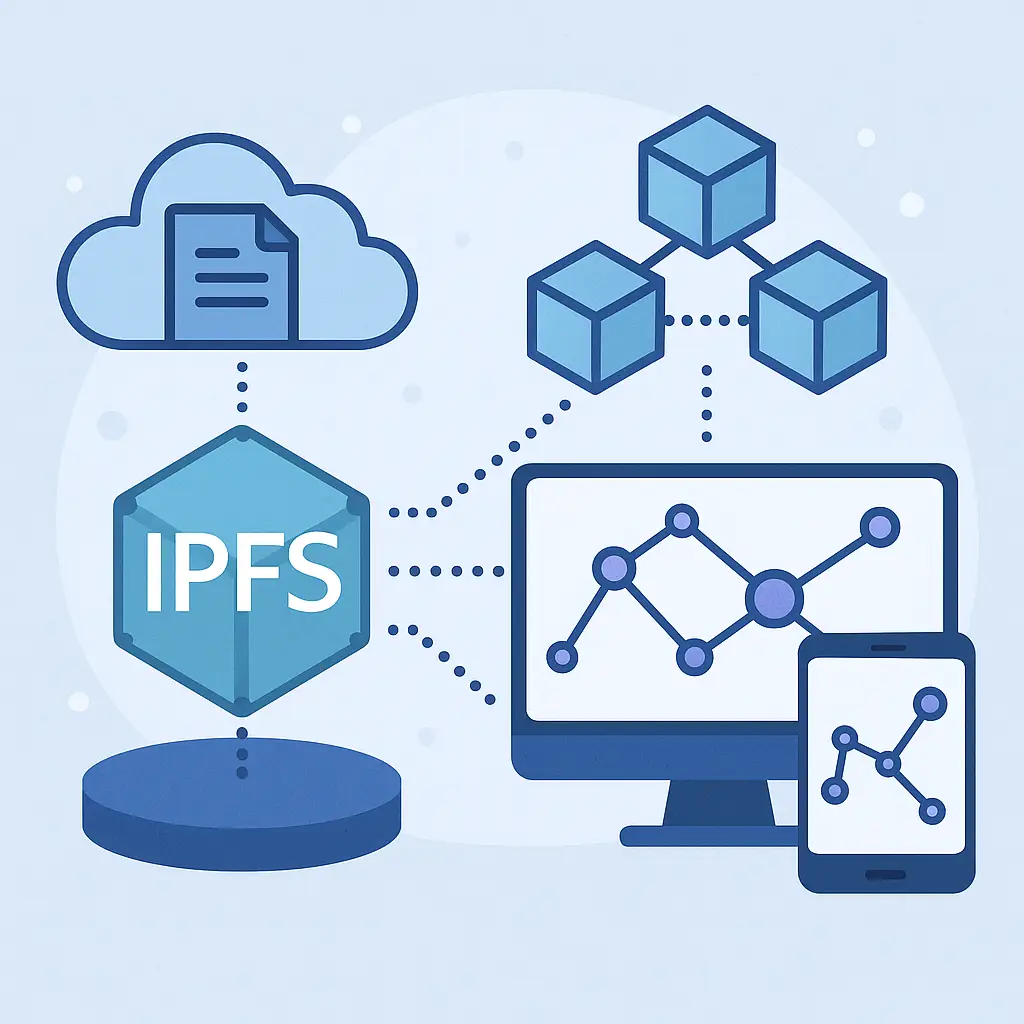
Introduction to IPFS
The InterPlanetary File System (IPFS) is a peer-to-peer protocol designed to make the web more decentralized, resilient, and efficient. Unlike traditional HTTP-based systems that rely on centralized servers, IPFS enables distributed file storage and retrieval using content-addressed data. Each file is assigned a unique hash, allowing users to access content from multiple nodes across a global network. This makes IPFS a cornerstone for Web 3 projects, enabling censorship-resistant, scalable, and persistent data storage for dApps, NFTs, and more.
In this guide, we’ll explore how IPFS works, why it’s ideal for Web 3, and how to integrate it into your project with practical examples using JavaScript and Node.js.
Why Use IPFS for Web 3?
IPFS offers several advantages for decentralized applications:
- Decentralization: Files are stored across a network of nodes, reducing reliance on single points of failure.
- Content Addressing: Files are identified by cryptographic hashes, ensuring data integrity and immutability.
- Efficiency: deduplicates content, saving bandwidth and storage.
- Persistence: Data remains available as long as at least one node hosts it, ideal for NFTs and dApps.
- Censorship Resistance: No central authority controls the network, making it harder to block or remove content.
Setting Up
To integrate, you’ll need to set up an IPFS node or use a service like Infura or Pinata for managed access. Here’s how to get started with a local IPFS node.
Step 1: Install
npm install -g ipfsInitialize an IPFS node:
ipfs initStart the IPFS daemon to connect to the network:
ipfs daemonAlternatively, use a hosted service like Pinata to avoid running your own node. Sign up for an account and obtain an API key for programmatic access.
Step 2: Install IPFS JavaScript Library
For browser or Node.js integration,
npm install ipfs-http-clientIntegrating into Your Web 3 Project
Let’s walk through a practical example of uploading a file and retrieving it in a Web 3 application.
Example: Uploading a File
Create a Node.js script to upload a file using the ipfs-http-client.
const { create } = require('ipfs-http-client');

// Connect to node (local or hosted)
const ipfs = create({ host: 'localhost', port: 5001, protocol: 'http' });

async function uploadToIPFS(fileContent) {
  try {
    // Add file
    const file = await ipfs.add(Buffer.from(fileContent));
    console.log('File uploaded to IPFS with CID:', file.path);
    return file.path; // Returns the Content Identifier (CID)
  } catch (error) {
    console.error('Error uploading to IPFS:', error);
  }
}

// Example usage
const sampleContent = 'Hello! This is stored.';
uploadToIPFS(sampleContent);
This script connects to a local IPFS node, uploads a string as a file, and returns its Content Identifier (CID), a unique hash like Qm….
Example: Retrieving a File
To retrieve the file using its CID:
async function getFromIPFS(cid) {
  try {
    const stream = ipfs.cat(cid);
    let data = '';
    for await (const chunk of stream) {
      data += chunk.toString();
    }
    console.log('File content:', data);
    return data;
  } catch (error) {
    console.error('Error retrieving from IPFS:', error);
  }
}

// Example usage
const cid = 'YOUR_CID_HERE'; // Replace with the CID from the upload
getFromIPFS(cid);
Integrating with a Web 3 Frontend
To use in a React dApp, integrate the above logic into your frontend. Here’s a simplified React component:
import React, { useState } from 'react';
import { create } from 'ipfs-http-client';

const ipfs = create({ host: 'localhost', port: 5001, protocol: 'http' });

function IPFSUploader() {
  const [content, setContent] = useState('');
  const [cid, setCid] = useState('');

  const handleUpload = async () => {
    const result = await ipfs.add(Buffer.from(content));
    setCid(result.path);
  };

  return (
    <div>
      <textarea
        value={content}
        onChange={(e) => setContent(e.target.value)}
        placeholder="Enter content to store on IPFS"
      />
      <button onClick={handleUpload}>Upload to IPFS</button>
      {cid && <p>Stored at CID: {cid}</p>}
    </div>
  );
}

export default IPFSUploader;
Best Practices for IPFS in Web 3
- Pinning: Use services like Pinata to pin files, ensuring they remain available even if your node goes offline.
- Gateway Access: Provide public gateways (e.g., https://ipfs.io/ipfs/<CID>) for users to access content without running an IPFS node.
- Error Handling: Implement robust error handling for network issues or unavailable nodes.
- Security: Validate file content before uploading to prevent malicious data injection.
- Optimization: For large files, break them into chunks or use DAG (Directed Acyclic Graph) for efficient storage.
Conclusion
IPFS is a powerful tool for building decentralized Web 3 applications, offering a robust alternative to centralized storage. By integrating IPFS, you can create dApps with persistent, secure, and distributed data storage. This guide provided a starting point with practical code examples. Experiment with IPFS in your projects to unlock the full potential of Web 3.


